Estimated Turn Around Time: 4-5 Business Days, most orders are shipping under TAT
September 17, 2020 5 Comments
We're happy to have Tessa of Tessa Does here on the blog with us today! You're going to love her cute style and her great tips for adding that little bit of professional detail to your garments.
I love sewing for my family. I’m sure many of us do. However, I know that sewing for others often comes with some higher standards -- either from the sewist or the recipient. This is certainly the case when I sew for my husband. Though he would never reject anything I made, he is a perfectionist by nature and I scrutinize my work a little more closely on his pullovers and tees than I do my 6 year olds tees and leggings.
That’s why when it comes to sewing for my family, I try to include some professional-looking details that are quick and easy— and don’t require any extra fabric!
Love Notion’s Constellation Pullover and Northstar Pullover both in RCF French Terry
Make your sewn clothing look professionalWhat I’m about to share might seem like a total no-brainer, but when I was new to sewing this approach didn’t even occur to me. Initially, I sewed every piece in all the same fabric, but I found sometimes they lacked dimension. I noticed that RTW (“ready to wear,” or store-bought) clothing often had exact-matching coordinate fabrics for hoods, cuffs, or collars— they didn’t use all the same fabric for every piece of the garment.
Love Notions Sprint Muscle Shirt with the infamous RCF Oatmeal French Terry
As I noticed this, I noticed that I needed exact coordinates for those details, ones that were exact matches for my makes in progress. This is something I love about using Raspberry Creek Fabrics, their coordinates are exact matches and I love using several prints together, especially for kids clothing. However, sometimes I want a more subtle look and a more simple and sophisticated style. It can be tough to combine and balance fabrics and sometimes can result in garments that are so “busy” you don’t know where to look first. Then I tried this little trick for my French Terry fabric and it was a game changer— I simply used the “wrong” side of the fabric for the details!
“Right” and “Wrong” are Relative
Now, I wouldn’t say this about just anything, but when it comes to fabric, “right” and “wrong” are relative terms. If you’ve been sewing for any amount of time you know there is a “right” side and a “wrong” side to your fabric. However, when it comes to French Terry, those sides can be interchangeable to a degree. French Terry is a fabric that usually has two very distinct sides. Usually one side has little loops on it and the other side has a more smooth surface.
Places to use the “wrong” side of French Terry
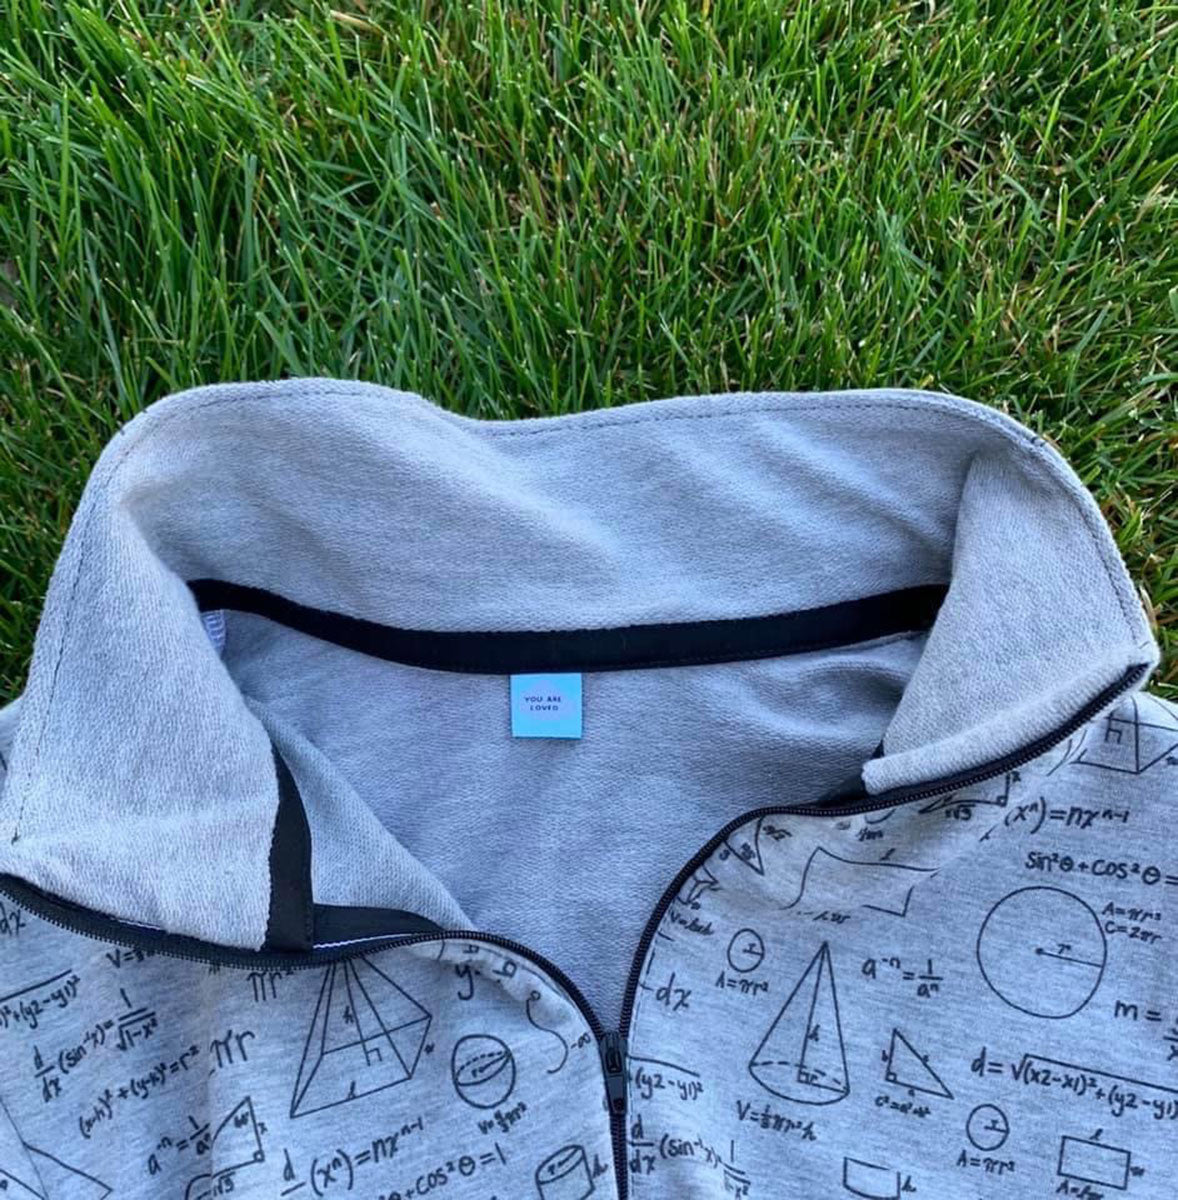
The loop side of French Terry is typically the “wrong” side, but I like to use that wrong side for details like cuffs, neckbands, and hoods. Kangaroo pockets, bindings, patch pockets, and collars are also great places to work in the reverse side.
The inside of the collar is using the “wrong” or loop side of the french terry.
These cuffs, hemband, and neckband are done with the reverse side of the French Terry for a subtle, but sophisticated effect that breaks up the potential monotony of a solid.
The beauty of this approach is that the reverse side of the fabric is an exact color match to your main and it can break up the monotony of a large swath of print or give texture to a one dimensional section.
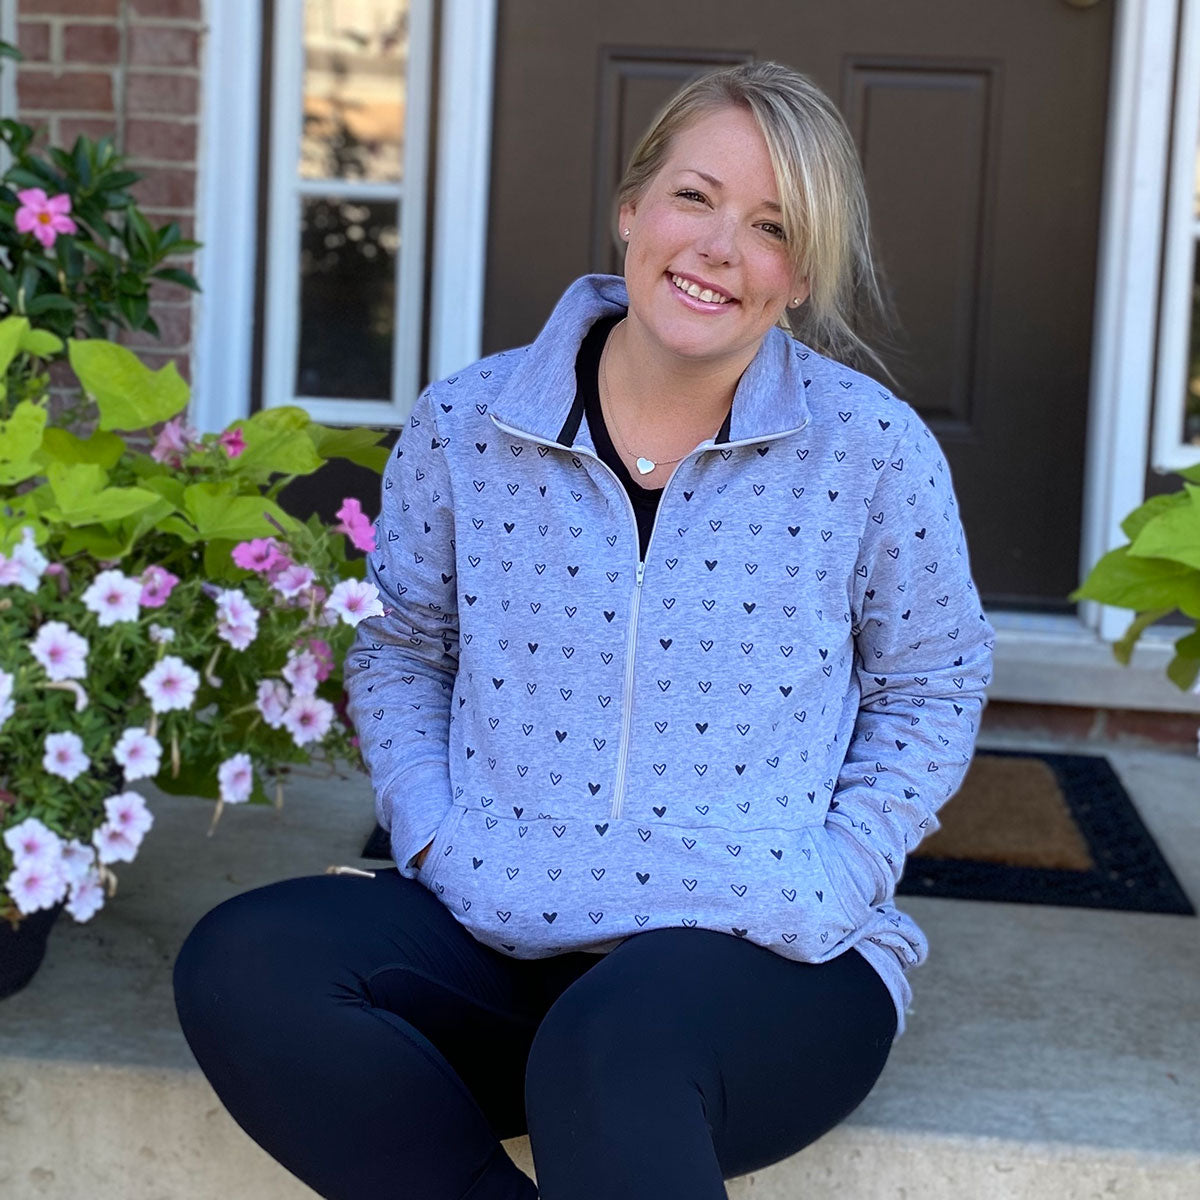
I love the subtlety of using the reverse side of the french terry. Here I used the wrong side on the collar, the pocket bands, the hem band, and the cuff of my pullover. Though it isn’t a detail that stands out right away, I feel this choice adds a polish to the garment that makes it feel like a professional piece.
The wrong side isn’t always “wrong”
So, when it comes to my pattern pieces in sewing, I almost always prefer to incorporate BOTH the wrong and right sides of French Terry to create more interest, break up big patches of solid fabric, give some texture, and to create a more professional looking garment.
My makes
All of these makes above used my beloved RCF fabric in french terry. Recently, I was gifted some yummy grey French Terry which has just the perfect amount of stretch for a fall sweatshirt.
So I decided to make the Sloane Sweater for fall and try out a bit of a hack when it comes to the hem band, and of course used the reverse side of the french terry for the cuffs, hemband detail, and neckband to give some interest and sophistication to a more basic, classic sweatshirt.
Sweatshirt with Side Slits
Recently, there have been a lot of tops in my instagram feed with these cute extra long slits at the sides. I love how this modification allows for a long top to cover the behind, but still has a bit of excitement on the sides! If you want to know more about how I made it, visit here for a quick tutorial.
I love how this turned out!
I plan to wear this with leggings and my favorite black cami plus some easy-on athletic shoes for the entirety of fall! I might need one in every French Terry color as well!
So, start thinking beyond “right” and “wrong” when it comes to French Terry fabric, and start working out a way to incorporate both sides into your sewn pieces, if you aren’t already. This technique is so simple, but it gives a totally professional upgrade compared to using the same side for the whole garment.
September 22, 2020
I will look at the “wrong” side of my French terry to see if I can use it for my next project. Thanks for the inspiration!
September 22, 2020
This is a great tip and doesn’t cost any extra time. I’m definitely going to do this in future. Thank you 😁
September 22, 2020
I have a top I purchased from Costco A few years ago that was made like that. The only issue I had was that the inside of the French terry picks easily!!
September 22, 2020
Maybe it is just me – but do you have a problem with the little loops catching on stuff and pulling?
Comments will be approved before showing up.
October 01, 2024
September 12, 2024
Roxann King
September 22, 2020
Great share! Thanks Tessa I know I’ll be using this in the future. It can be so hard to find coordinates for some things and this is a stellar hack!