Estimated Turn Around Time: 4-5 Business Days, most orders are shipping under TAT
November 25, 2022
Have you ever seen the perfect print at Raspberry Creek and thought: this would be SO perfect if it matched this!? The shop girls do a fantastic job picking coordinates from the shop, but what if you want to match accessories you already own? Have you ever considered coloring them yourself?! Today, I’m going to take you on a little fabric dying and fabric marker adventure!
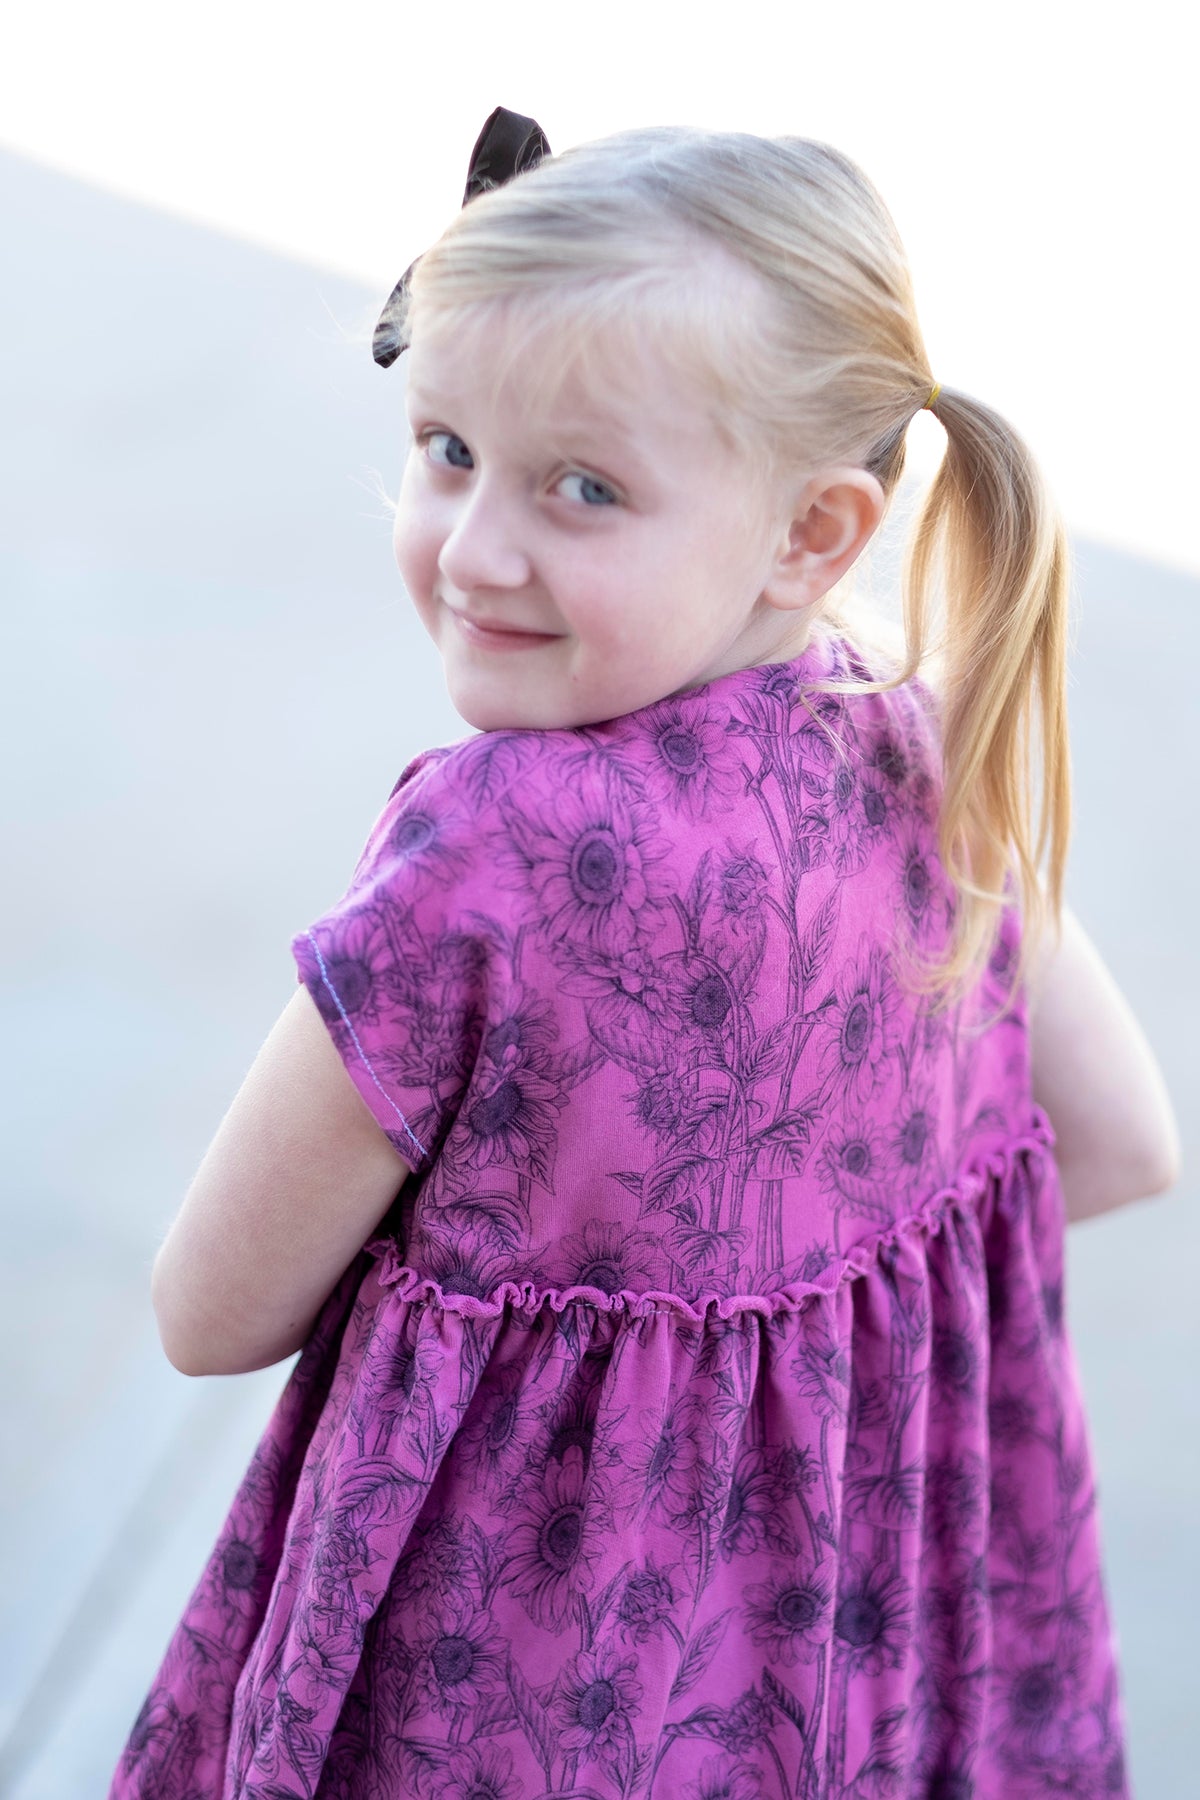
I started with this gorgeous Sketched Sunflowers print from the fall line. I am a sucker for florals, but my main model is not a fan of black. She is all about the bold colors! We have always collaborated on her wardrobe, but I generally give her a curated collection of fabrics and colors to choose from. This time, I went for broke and took her shopping with me to find fabric dying supplies and embraced her wild choices!
We ended up trying two things: fabric dye, and fabric markers. This was such a fun project, we are definitely going to try some more mediums! There were a lot more options than I anticipated.
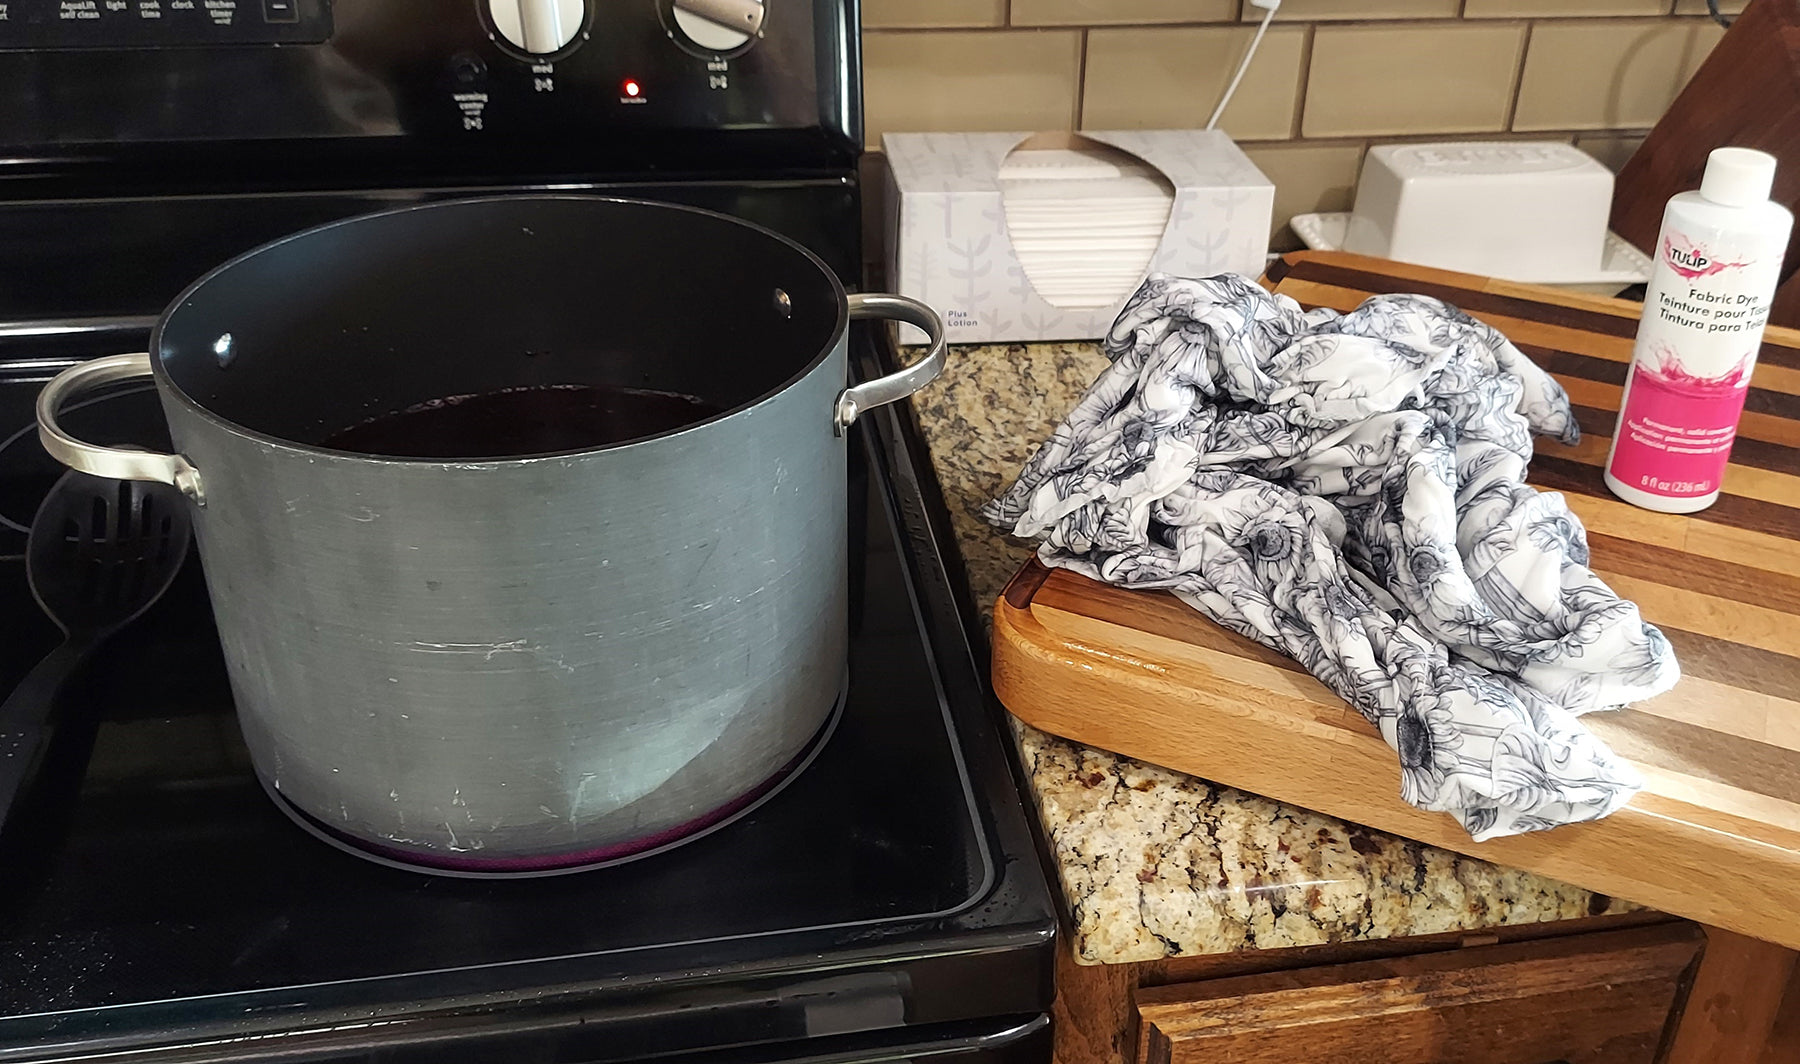
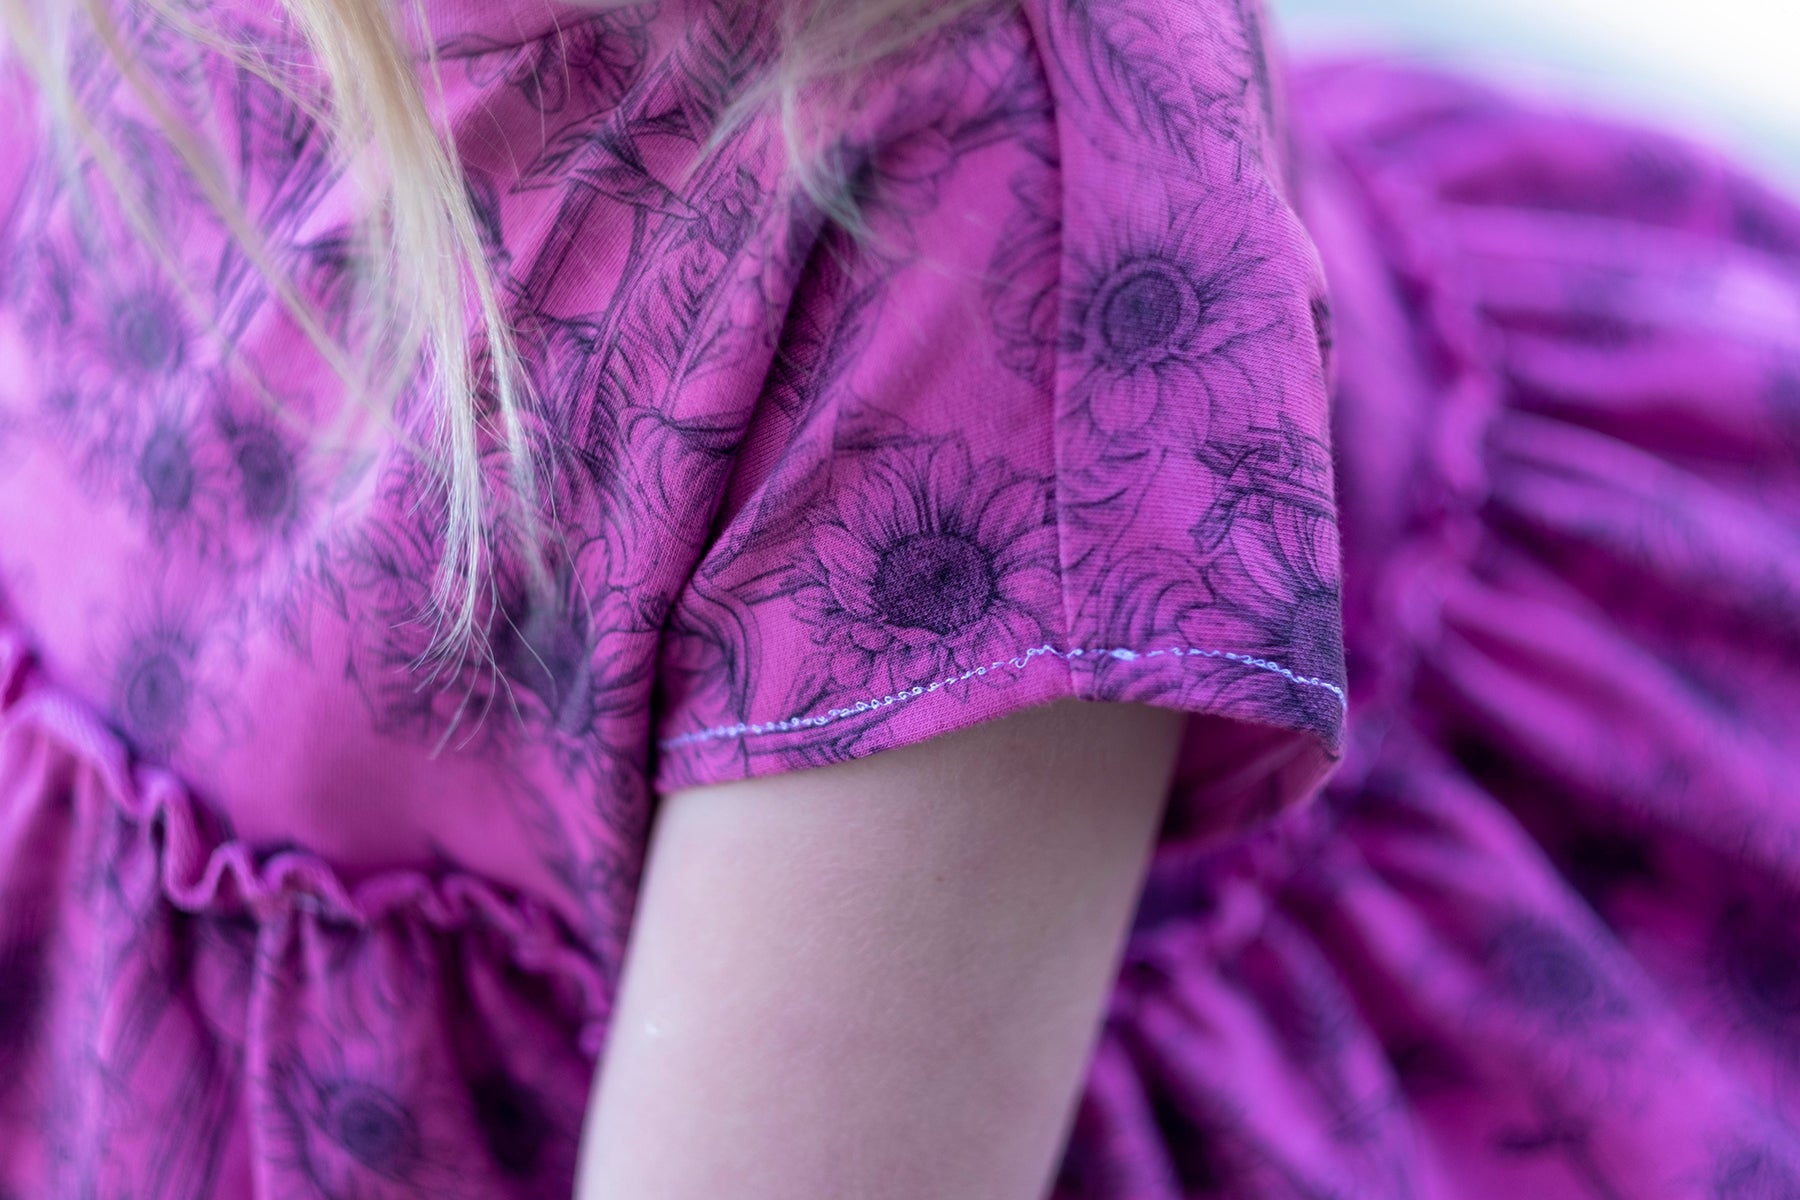
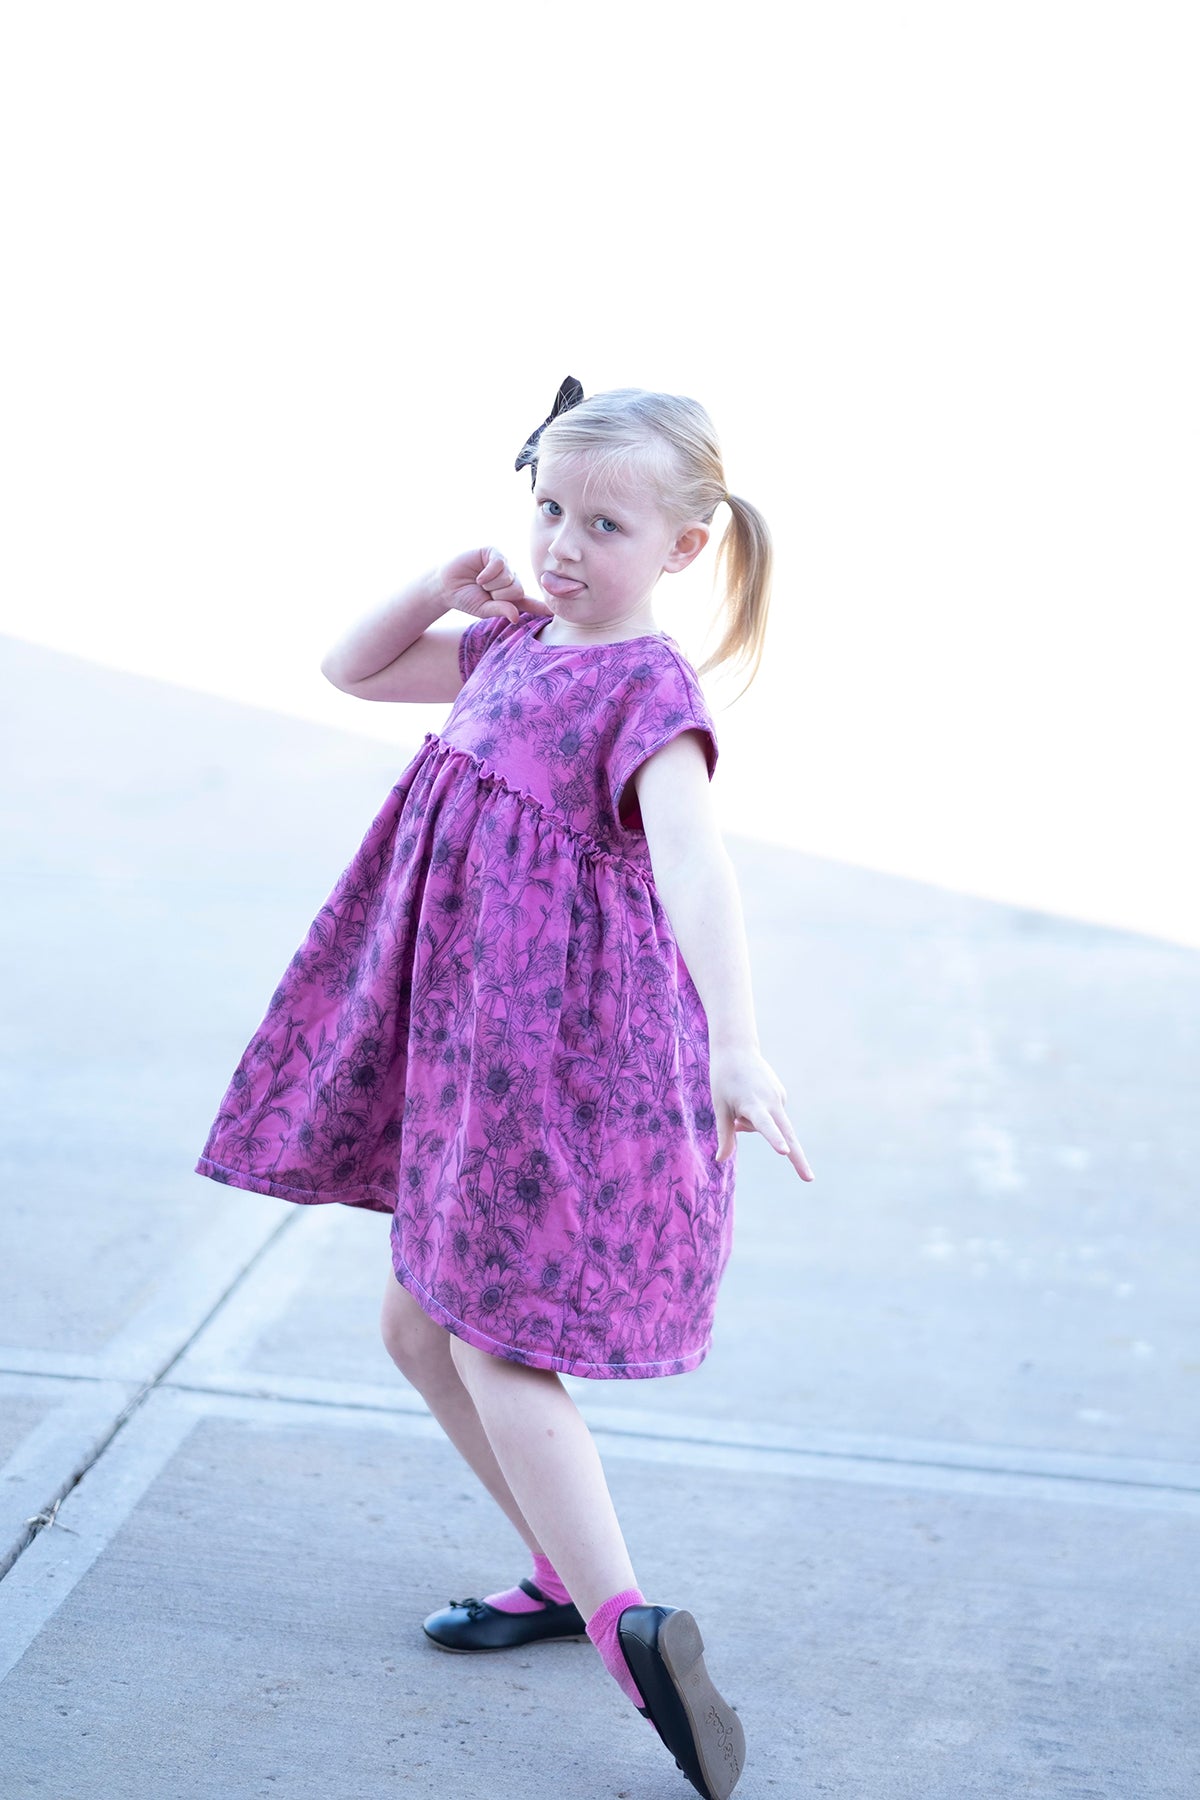
First, we tried the straight dye. I didn’t want to dye the whole piece of fabric, since we were trying different things, and I was feeling too lazy to fish a bunch of fabric pieces out of my water bath, so I sewed the dress first, before dying. Lesson learned: poly thread does NOT accept cotton dye! Rookie mistake. If you try this, make sure you dye it first, then find threat to match. Another pro tip: wear rubber gloves if you don’t want pink hands for about a week. Ask me how I know.
Other than those few hiccups, the dying process was very easy! We just followed the directions on the bottle. I soaked the dress in water, then wrung it out so it was wet but not dripping. I do not have a top load washing machine, nor did I want my bathtub to turn pink for any length of time, so we used a large stock pot. Filled it with hot water, brought the water just to a simmer, and then added the dye. I completely submerged the fabric, stirring it around and making sure there were no secret air pockets. We let it sit for 15 minutes before checking the color.
When we pulled the dress out, it was more red than she had been hoping. She was looking for a more purple pink fuchsia color. I did have a bit of blue dye up in my sewing room left over from another project, so we added a few drops of that to the dye bath before adding the dress back in. stirred, waited, and this time, when we pulled it out, it was the perfect color. Success! We did end up with two spots where the color didn’t have 100% coverage, more splotchy spots. We just held those spots in the dye bath for a few extra minutes, and the coverage improved a lot.
The only sad thing about the dress is the white thread at the hem! It may end up bothering me so much that I un-pick it and find matching thread…but it’s a triple stitch, so we’ll see.
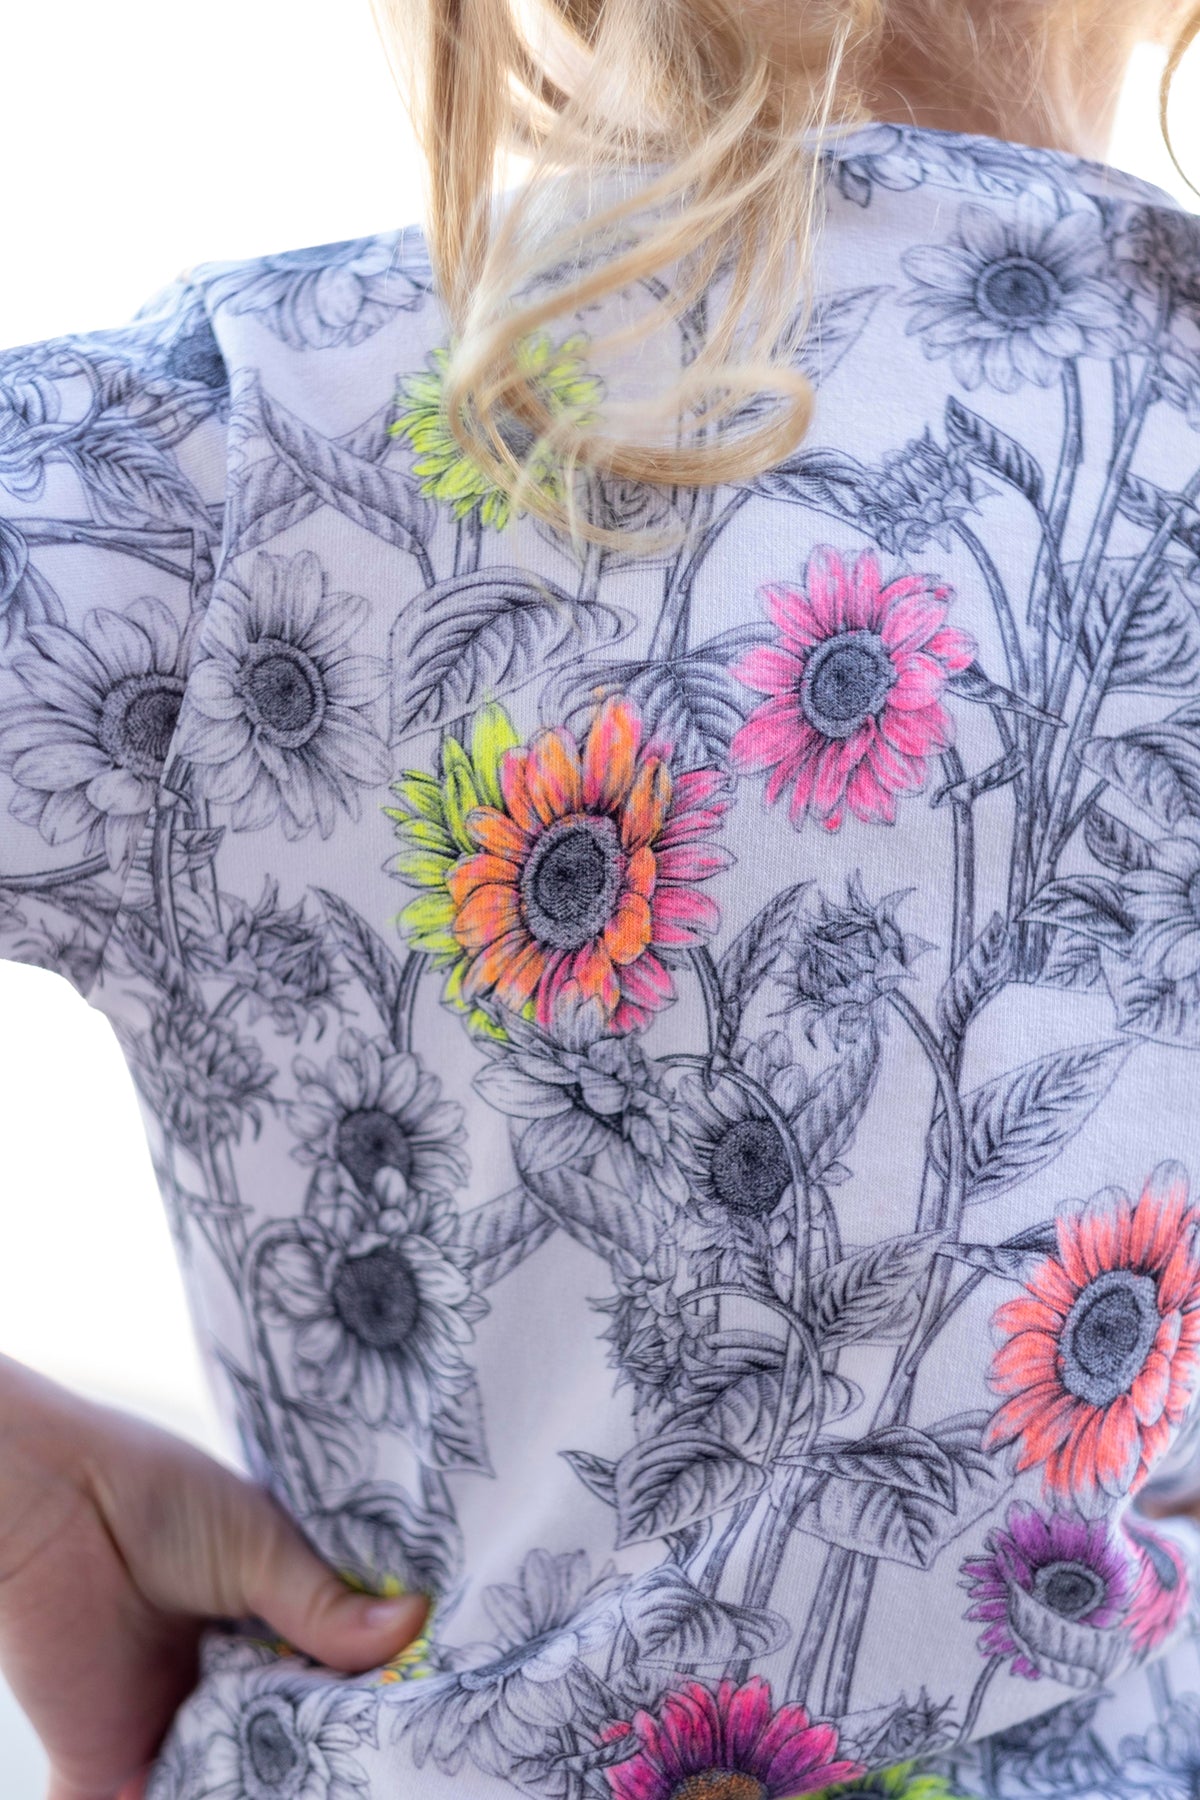
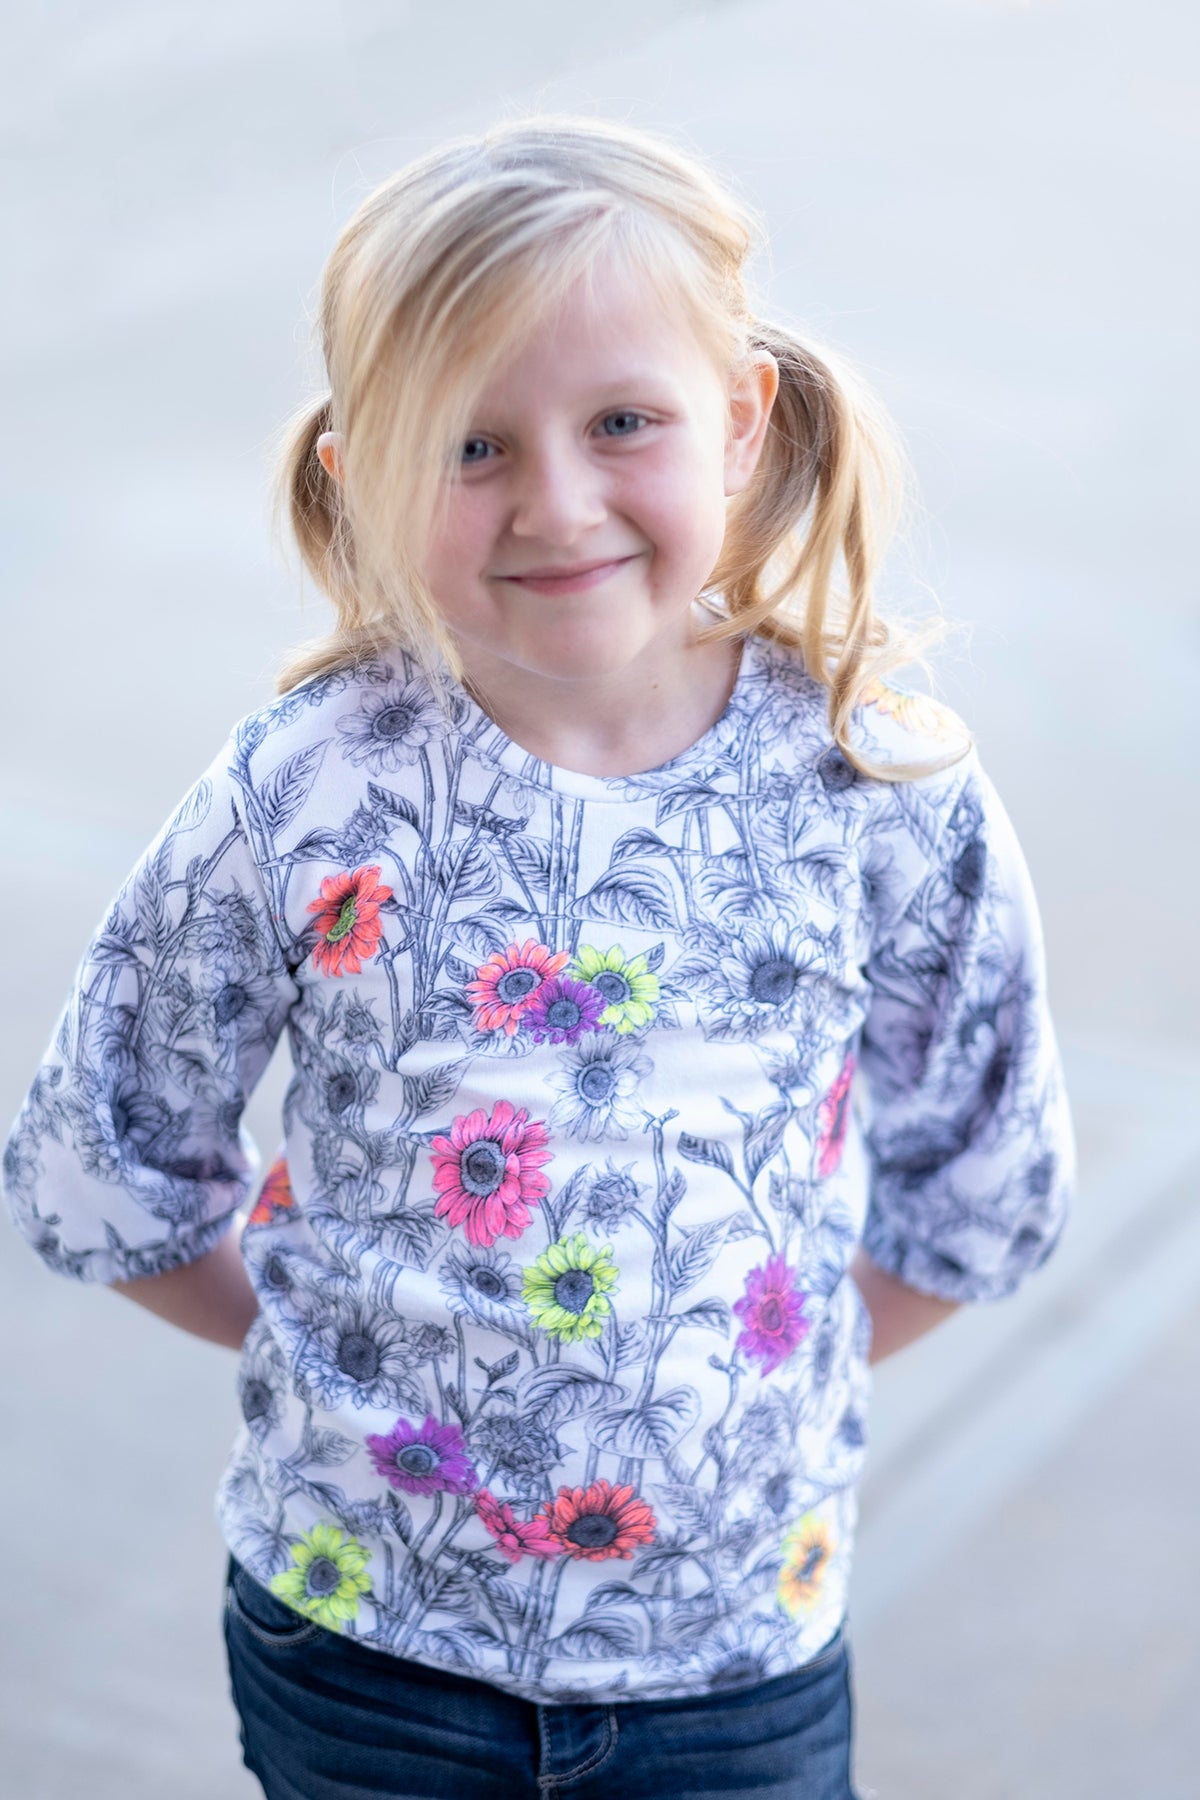
Our second fabric coloring medium were these neon fabric markers. These were super fun for my daughter and son to use! I wasn’t sure if they would bleed or not, so I cut the pieces for the shirt first, and then gave them free reign to see what would happen. They spent an hour coloring away on the shirt and scrap fabric, and despite not being a color palate I would have chosen, I am pleasantly surprised that it turned out pretty cute!
They ran the purple and pink markers almost completely dry with just this project, so I would not recommend fabric markers for covering large areas. But they were great for making a few flowers pop!
I usually skip over the monochrome prints, but since doing this project, now my daughter and I are both making plans for all the minimal prints in the shop! (looking at you turkeys) I did a little research, and I think we are going to try some fancy tie dying techniques, and painting with fabric medium! Maybe even adding some embroidery?? With such cute base prints, it’s so easy to make something truly special!
Comments will be approved before showing up.
December 29, 2024
December 16, 2024